All answers about GMAT application, preparation, book
For those who want to study in Business Administration, you must have GMAT score for your admission. To make your dream come true, come here at Chulatutor, our course will review your lessons. The course covers all necessary topics such as reading, writing, analyzing and calculating to make you ready for the test.
- Maths review course which you can study beforehand
- Tips and tricks for test
- techniques for difficult tests
- emphasizing content so office workers can spend short amount of time to understand the lessons.
- focusing on “test practices with timer” to make you know more tricks
- still doubtful? Free lessons review!
Our professional tutors will help you defeat the test easily even you have little preparation time. We cut your worry and all your problems. No matter you have less time or little English background, we will make you feel more confident and GMAT will become a piece of cake. All you can do it! No more worry! Let us be your caddy!
| รหัสคอร์ส | วันเรียน | รอบ | เวลา | หมายเหตุ | เหลือที่นั่ง | อาจารย์ |
GMAT Registration Process
GMAT has 2 test types; GMAT TEST CENTER EXAMS and GMAT GMAT ONLINE EXAMS. To register for the test, you have to enroll in a website https://www.mba.com/. If you choose GMAT TEST CENTER EXAMS, the test will be held at the test center but if you choose GMAT ONLINE EXAMS, the test will be held at home through the GMAT online system. Here, we will focus on GMAT TEST CENTER EXAMS which has the registration processes as following;
- Open website https://www.mba.com/ and click “Exam” then choose “GMAT Exam” and click “REGISTER NOW”.


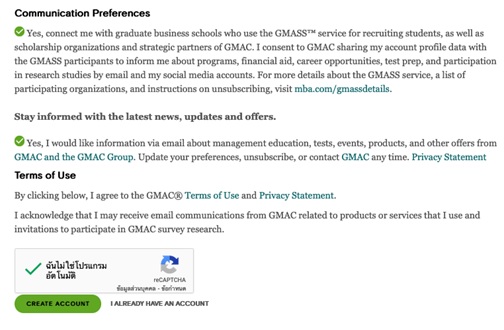
- The system will bring you to the section “Create Your Account”. If you already had an account, click “Sign in here.”, if not, create your account by filling in your First name, Last name, and create a password. The system will let you confirm that “You are not a robot” and click “CREATE ACCOUNT”.


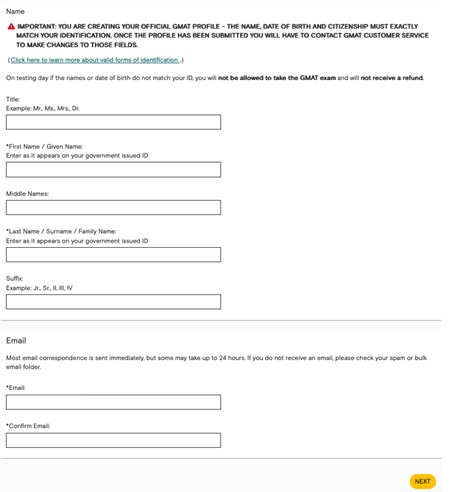
- Recheck your information, if it is correct, click “NEXT”.

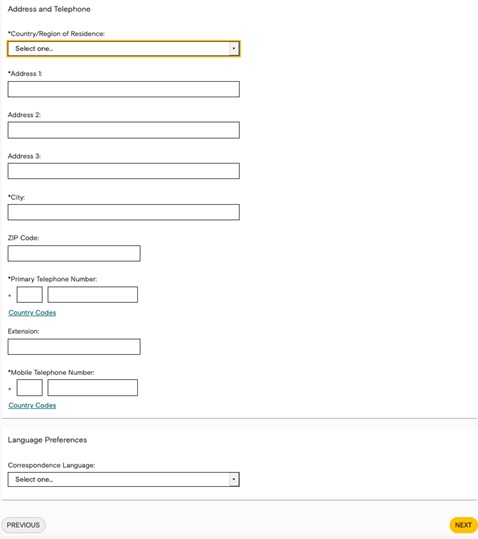
- Fill in your address, phone number, and language preference. Click “NEXT”.

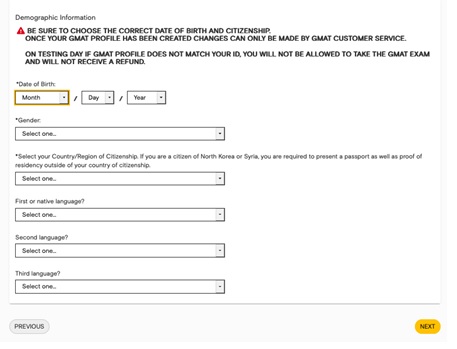
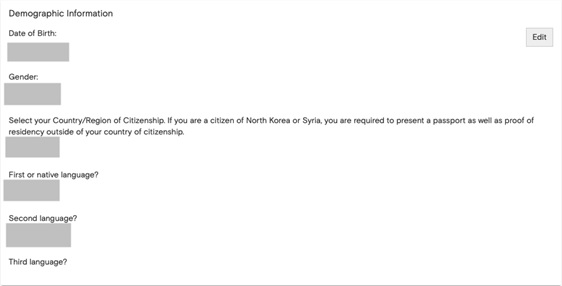
- Fill in your Date of birth, nationality, and native language. Click “NEXT”.

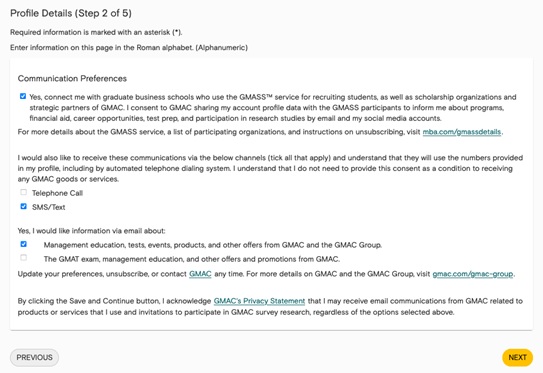
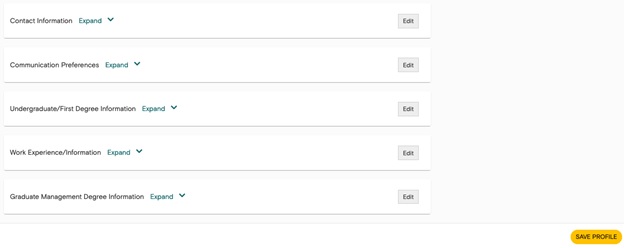
- Choose your communication preferences and click “NEXT”.

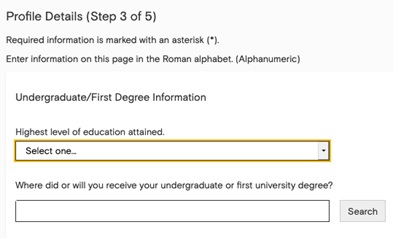
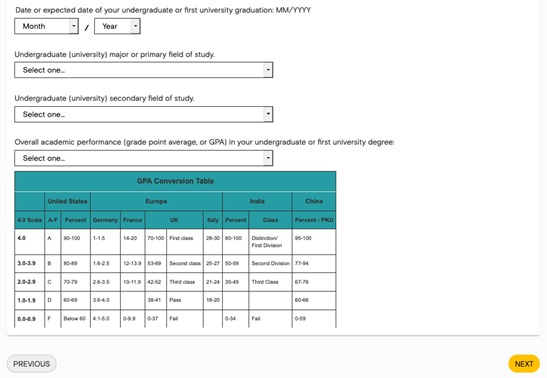
- Fill in your education background and GPA, then click “NEXT”.


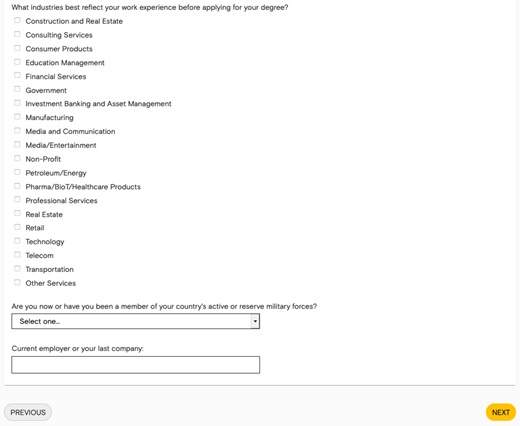
- Fill in your work experience; how many years of work experience do you have? What industries reflect your work experience? and click “NEXT”.


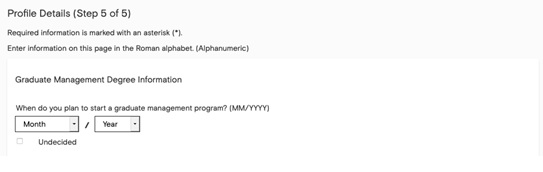
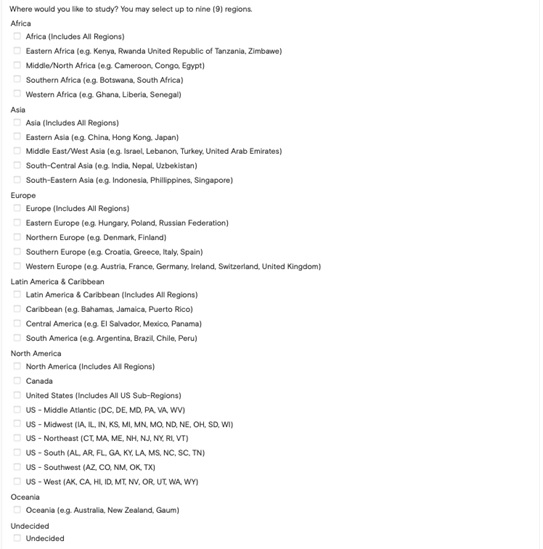
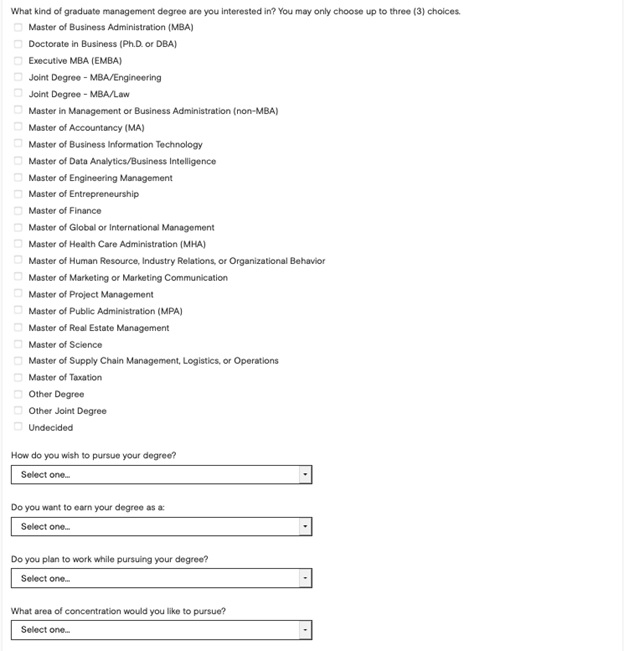
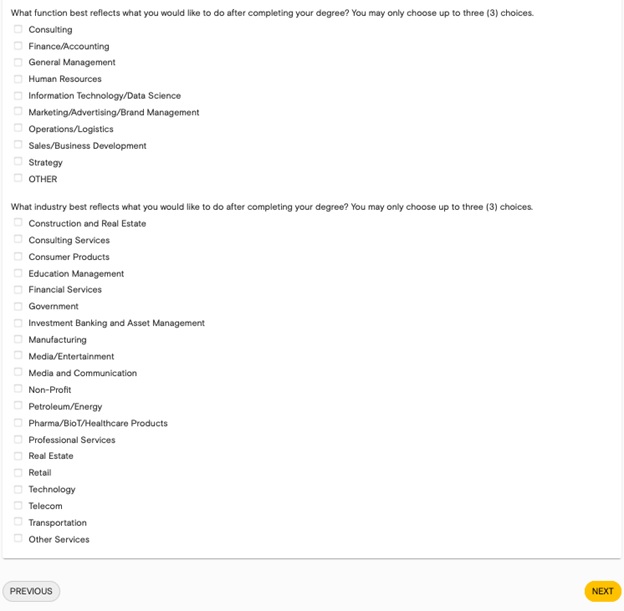
- Fill in your future education plan, your interested field of study, and your expectation after graduation. When finish, click “NEXT”.


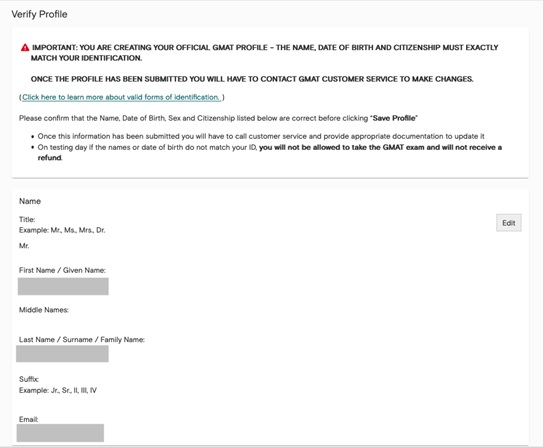
- The system will summarize your information, recheck again. If there is any section you would like to edit, click “Edit” on that section and fill in your new information. If all information is correct, click “SAVE PROFILE”.


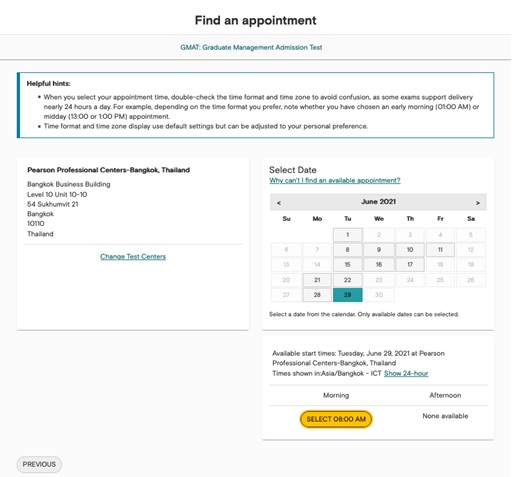
- Select the test center and click “NEXT”.

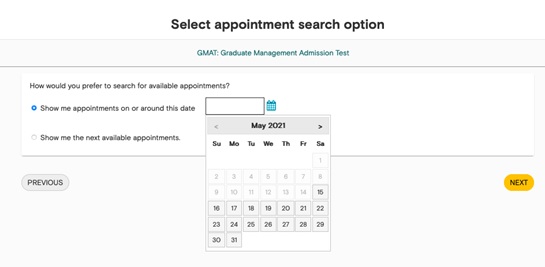
- Select your test date from the calendar icon “Show me appointments on or around this date” or “Show me the next available appointments” and click “NEXT” then choose your test date and schedule.


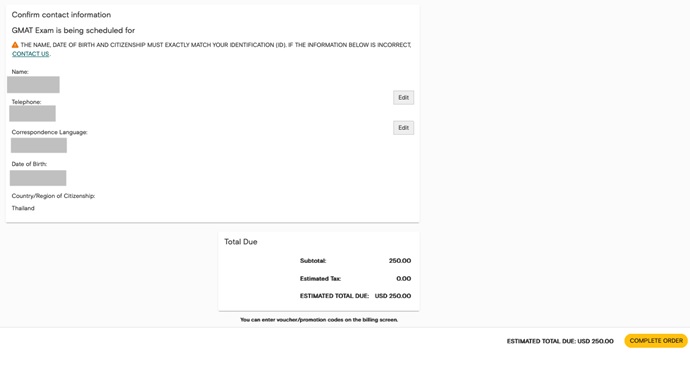
- Review all your information carefully. Check your test date, schedule, location, exam description, and test fee. The system will also offer you preparation books, you may remove it if you do not want. Then, recheck all information again, First name, Last name, Date of Birth, Phone number, and country, before click “COMPLETE ORDER”.


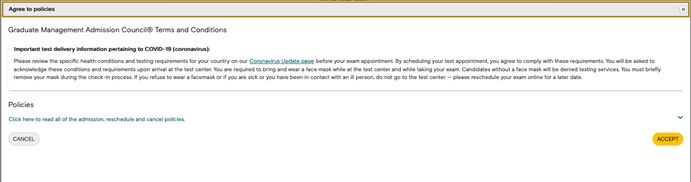
- Click “ACCEPT” to confirm that you accept Terms and Conditions.

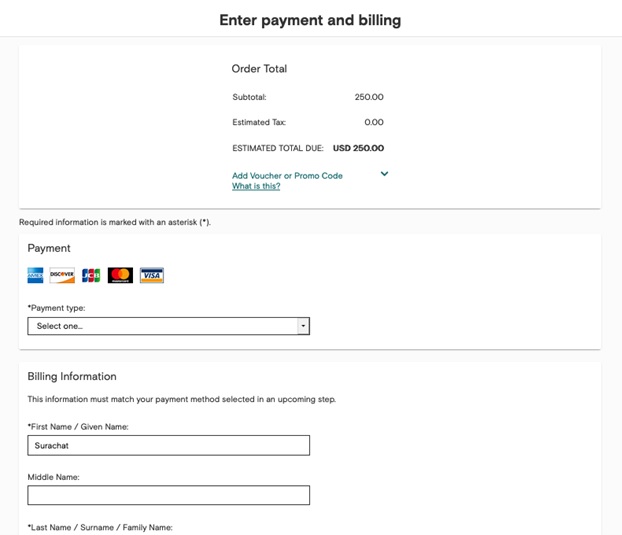
- The last step is the payment. Choose your payment method, Fill in your billing address and payment details. The confirmation email will be sent to you after the registration and the payment are completed.